zondag 8 december 2013

From RustyZ to cleanZ!

Hey everyone, it’s a long time ago that I posted something, so today I have a big update for you. I’m getting closer every day, the car is looking great right now and I’m proud of the work I have done already. This is the step where all the crappy work is done and the nice work begins. I hope you like this post and please leave a comment below so I know you’re following my project, and I will post more updates!

I like the look of the 240z tail and I was recently with a guy who had a lot of Z parts. He had three sets of European tail lights from a 240z so I couldn't resist to buy the tail lights. Okay my car is a 280z but I like the lights so I started to make them fit on the Z.
Of course every screw on the lights was rusty and got stuck in the lights. I drilled the rusty screws out and replaced them whit these inbus bolts.
Got them fitted, the look is too sweet!
Back plates fit perfectly.

This picture shows what it will look like when the car is finished.


So I called the sandblasting company to make an appointment. The company blasts around 150 cars a year! They even had a Lamborghini Espada that needed to be blasted. They blasted the car with aluminum oxide so if there’s some aluminum oxide left in the car it won’t rust. They also blasted the car at a special angle.
So I made the car ready to get blasted.


Loaded the car on the car trailer


Aaaaaand the car is back! Wow it looks great! The painted the car in epoxy it’s a perfect base for the next paint steps.


They also did the doors, they are in the car on this picture.


Okay I took a lot of pictures of different spots. I think this needs no explanation just take a look!


When the Z was back from the sandblasting company I put the body back on the car spit. The next step was to cover every seam of the Z with Innotec sealer.

It´s a tough job and it takes a lot of time to cover every spot of the car.


I did the big seams with a brush to get the original look from the factory.


Here the fun part starts. I like the effect of the new cars with spray-sealer so I decided to spray the sealer on the places where stones can hit the body


Foil and tape to cover the car.

This is the first time I tried to do this, so I only had one chance to do it right!


The sealer gives the Z a professional look,
it stays soft and feels like rubber.
We also got this spray sealer on
the rally cars and it works great!  


And I tried to make a panorama picture so you can see what I spray sealed.


The next step I’m working on right now is to get the Z on a frame so I can work on the doors and fenders. I hope you liked this post and comments are always welcome!   


vrijdag 1 maart 2013

New parts.

3 row radiator for better cooling.
240z tail lights in a good condition. 

240z tail lights plates they will be painted in the same color as the watanabe wheels.
New tie rod ends.

Datsun emblem i think i will put them on the fenders.


donderdag 14 februari 2013

Go for original!!


Time for an update!

In the winter I don't really work on my car a lot, it's way too cold! But I will post some pictures for you guys, so that it's still fun to follow my project every once in a while.


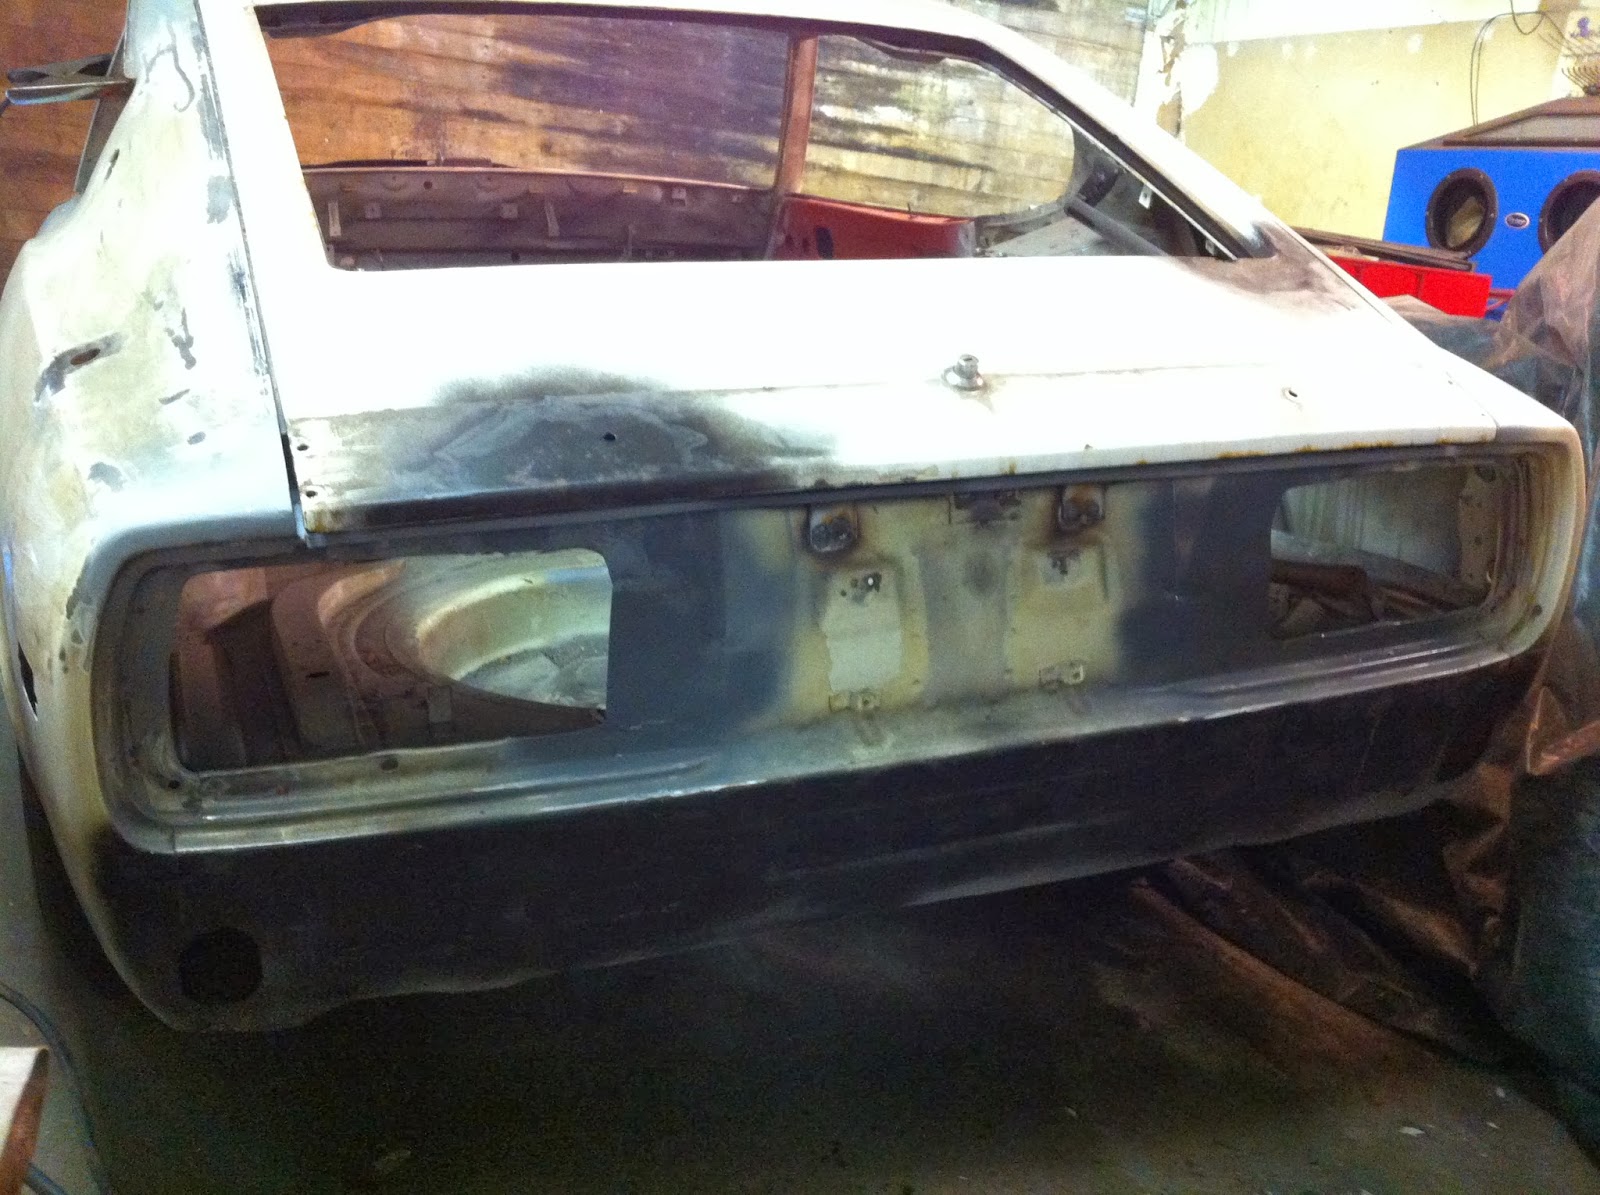
A picture of how the car looks right now:


I've decided to go for the original fenders instead of the polyester ones, since I can't customize the polyester ones in a good way and I don't have the patience for this anyway... I posted an advertisement on internet, looking for fenders. Luckily, someone from Westeinde responded and offered me these fenders (see picture above) so I drove down there, which was a nice ride!

I'm happy with this decision. I think it all looks much better now, they fit perfectly and it also means: less work for me!

So if anyone is looking for polyester fenders, I have new ones for sale!


I also managed to buy two original headlight parts. One of them was in kind of a worse condition than the other one, but I welded it nicely with my new welder.


Looks like it's new again! I still have to fix the back-side, because you can see some thin places after sand-blasting it.

And some pictures of my new asset:


Abarth exhaust, I'm curious about the sound! And the looks I love it!!!


This is my inspiration for the back-side of the car, this is more or less how mine will look.


And for the people who haven't seen it yet, above's a picture of the wheels I bought, Konig 15x7
The polished edge is going to be repowdercoated, in the same way as the face of the rims.

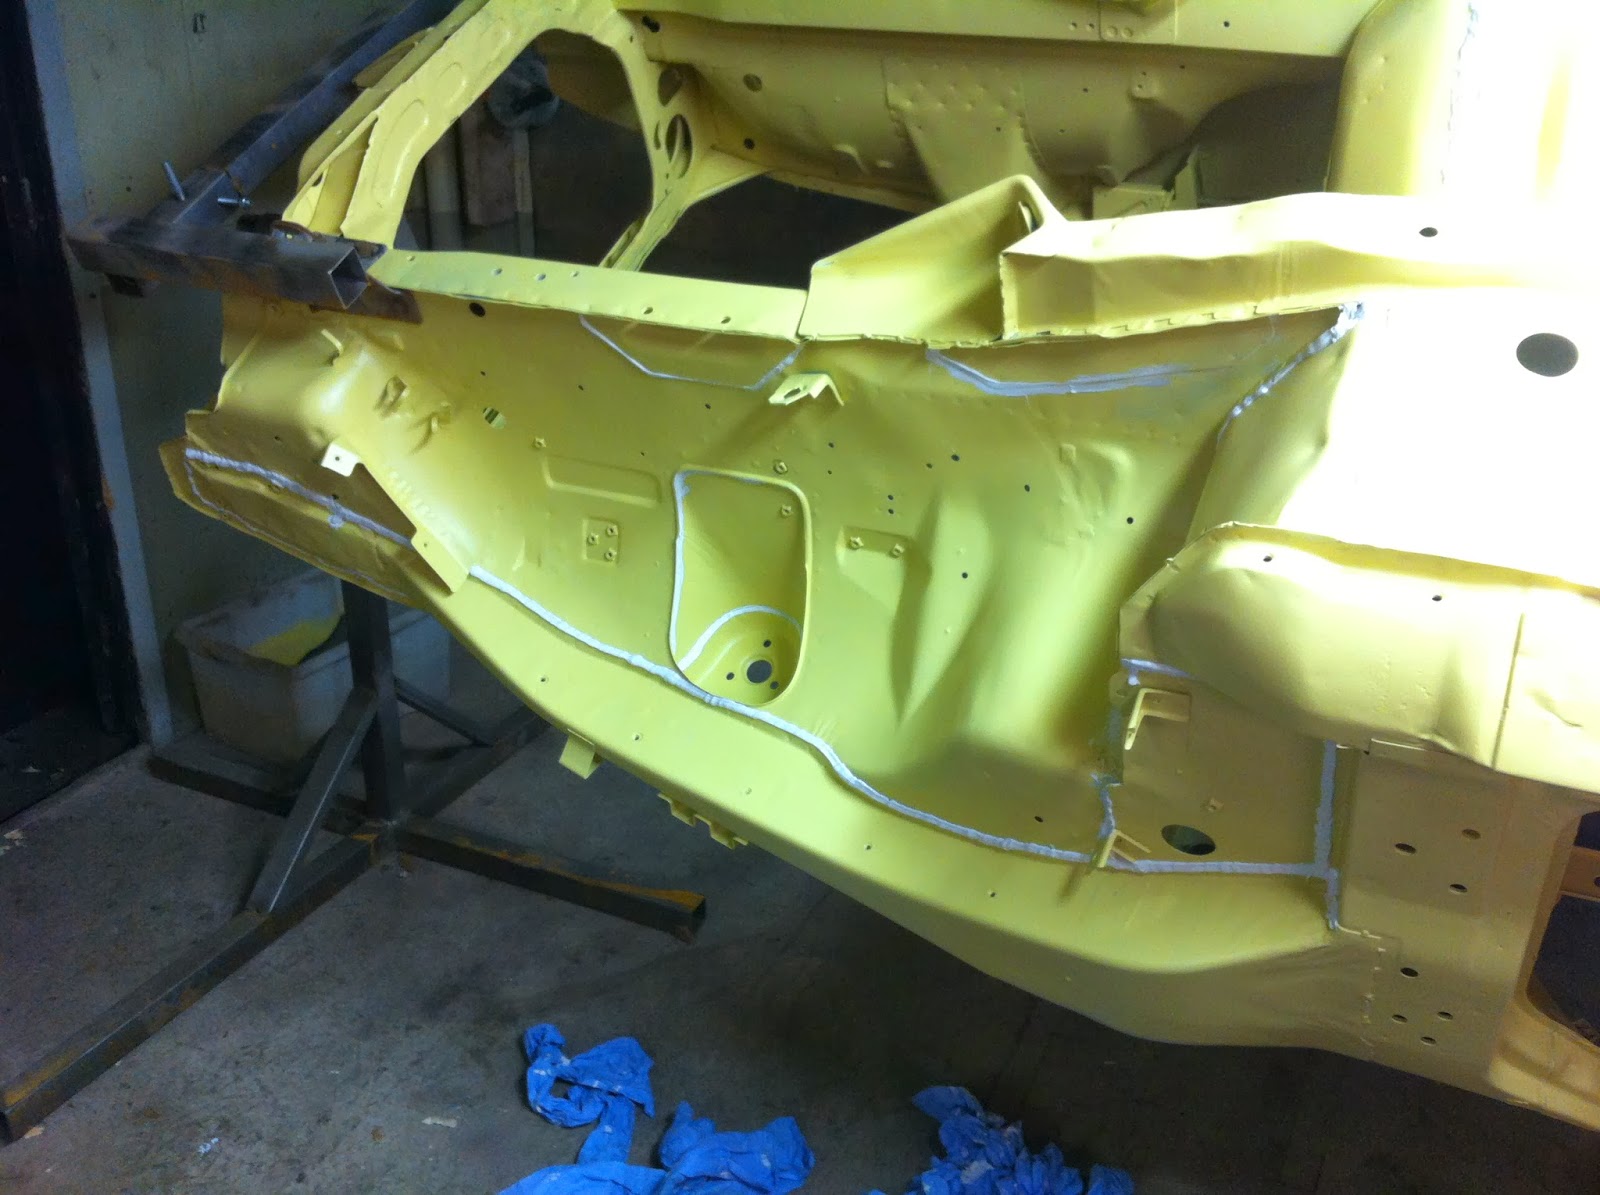
Well, this was is for now! When the cold is over, I'm going to continue on straightening the panels. Once that's done, hopefully somewhere in May / June, I will bring the body away to a sand-blasting company. Afterwards I will seal all the joints. Then, in July, I will bring the car to the car painter, at van Hoof Sport, where I'm part of the rally team. So the next update won't be until somewhere in May / June!